
Turn your stolen iPhone into a tracker
One message from someone you trust, and your stolen phone replies with its location on Google Maps and photos from the back and front cameras. On top of that, settings that lock every door on the thief.
What does a thief do first?
Phone theft is not about the phone. The target is your accounts, before you can react:
They watch you unlock it somewhere crowded, then take it.
They pull down Control Center and turn on Airplane Mode, so your phone disappears from Find My.
With your passcode they change your Apple Account password and turn off Find My. That's it, the phone is theirs.
Each step below breaks one of these moves 👇
Open the Shortcuts app
It's free and already on your phone. Everything in this guide is built here.
- Swipe down on the home screen and search for Shortcuts.
- Deleted it? Download it free from the App Store.
- Open it and keep it open. Next stop: the tracking key.
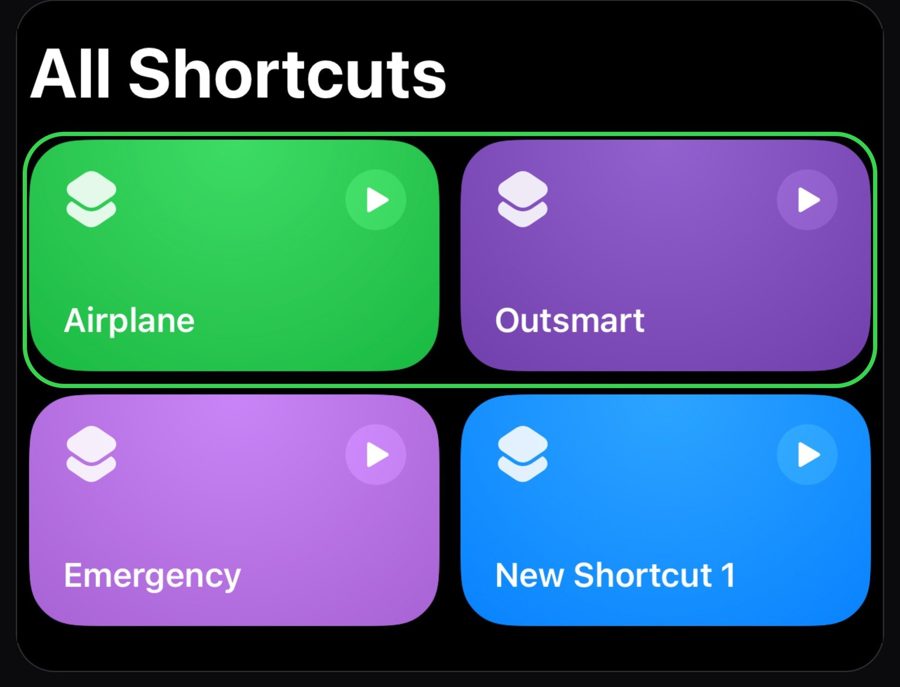
Build the tracking key
A message from someone you trust makes your stolen phone send its location and a photo of whoever is holding it.
- Sender: your spouse, a parent, a sibling or your closest friend.
- Message contains: a secret word only you two know.
- Choose Run Immediately so it runs without anyone touching the phone.
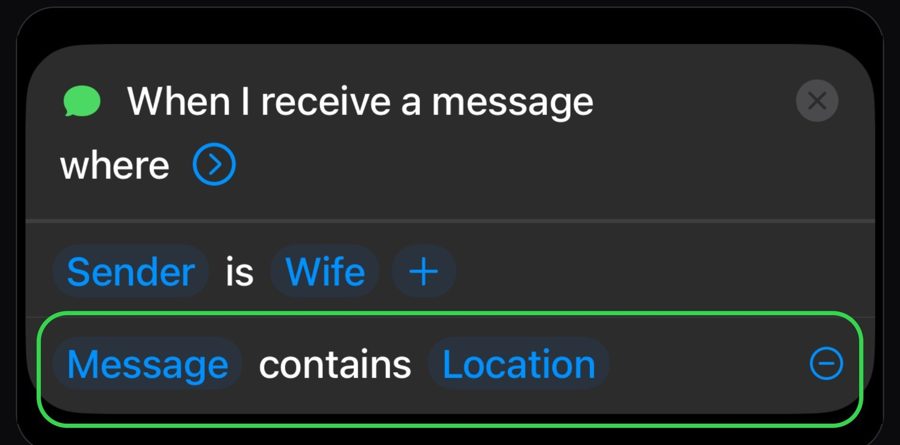
Make it send you its location
Add 3 actions under the trigger: Get Current Location (best accuracy), Text, Send Message.
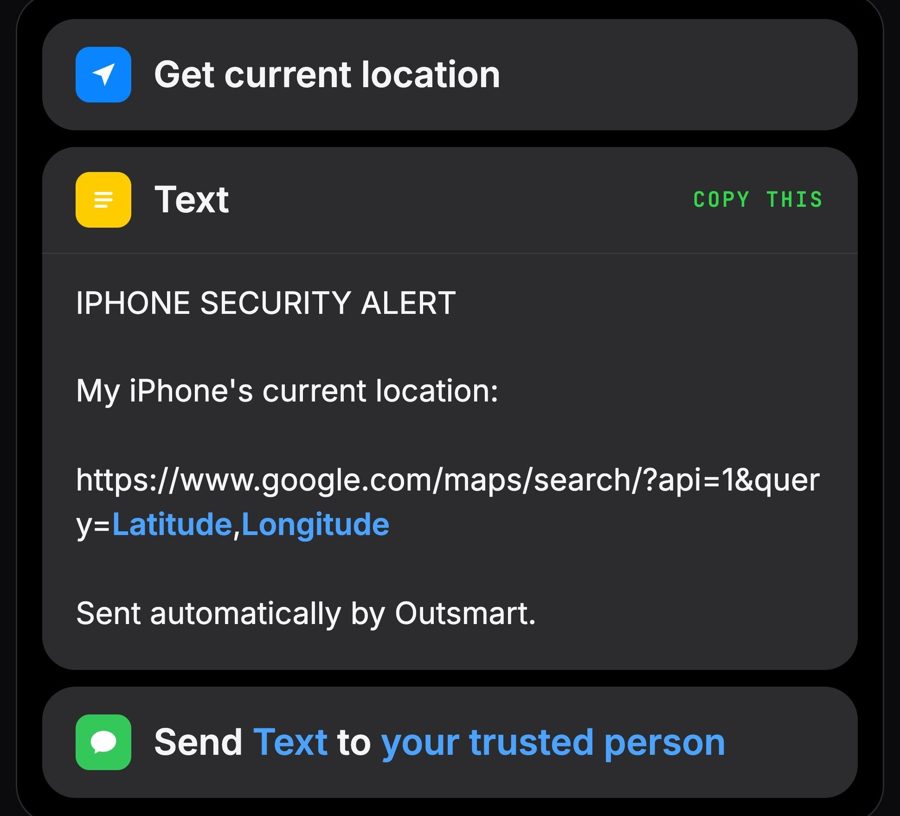
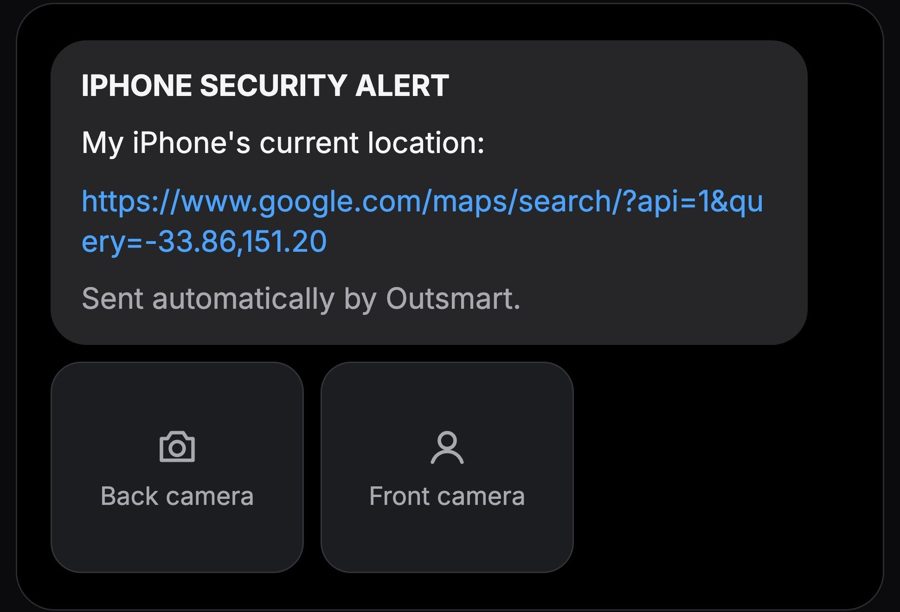
IPHONE SECURITY ALERT
My iPhone's current location:
https://www.google.com/maps/search/?api=1&query=Latitude,Longitude
Sent automatically.
And make it photograph the thief
The back camera shows you where the phone is: the street, the car, the room. The front camera shows you who is holding it.
- Take Photo with the back camera → Send Message with the photo.
- Take Photo with the front camera → Send Message with the photo.
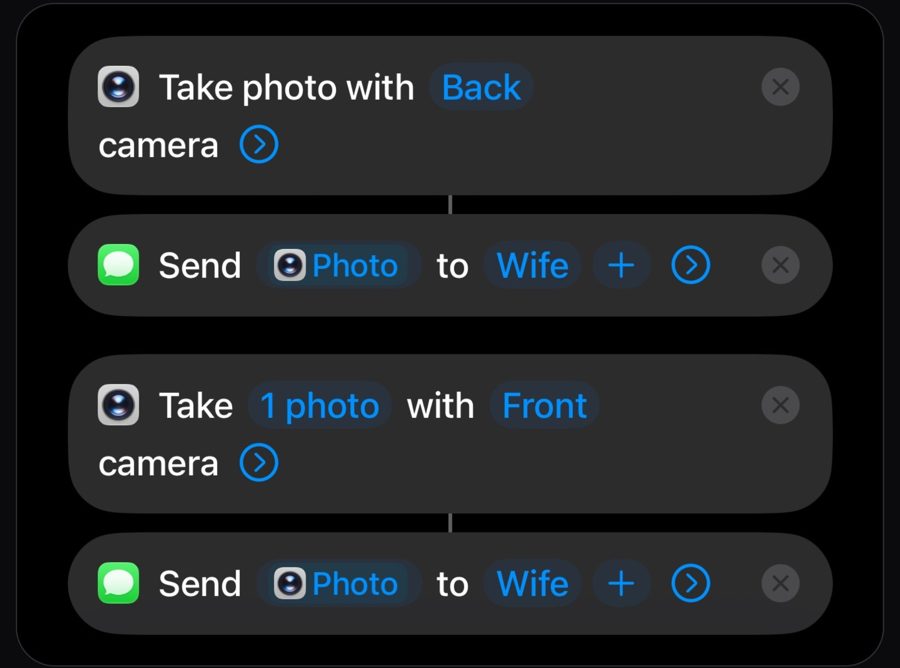
Test it before you need it
- Run the shortcut once by hand and allow the location, camera and messages permissions.
- Lock your phone and put it face down.
- Have the person you trust send the secret word.
- They should receive this:
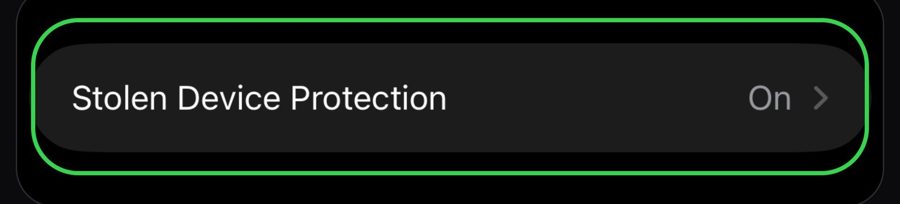
Turn on Stolen Device Protection
Your passcode alone is no longer enough. Changing your Apple Account password or turning off Find My needs your face and a one-hour security delay.
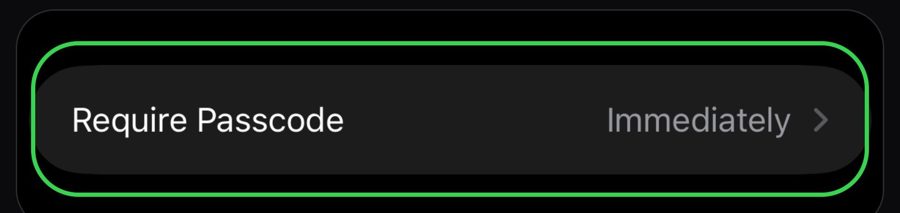
Require the passcode immediately
The moment the screen locks, the phone is locked. No grace period for someone to snatch it from your hand while you browse.
Block Control Center on the lock screen
This is the most important one. The thief can't swipe down and turn on Airplane Mode while the phone is locked, so Find My keeps sending its location.
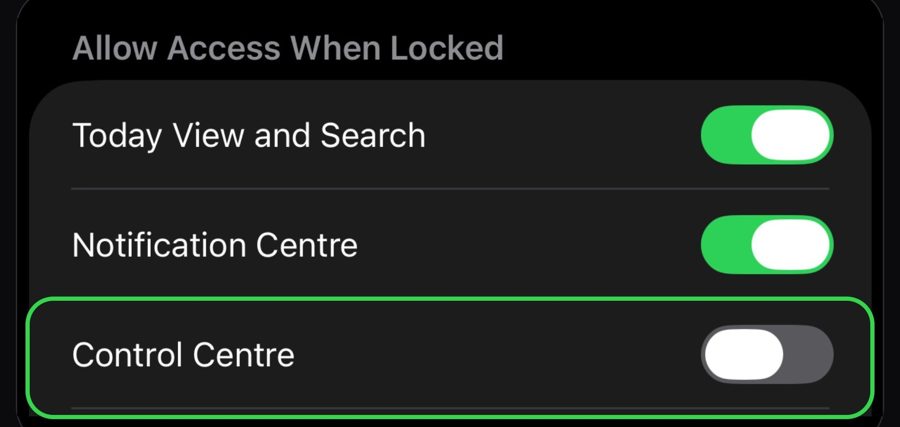
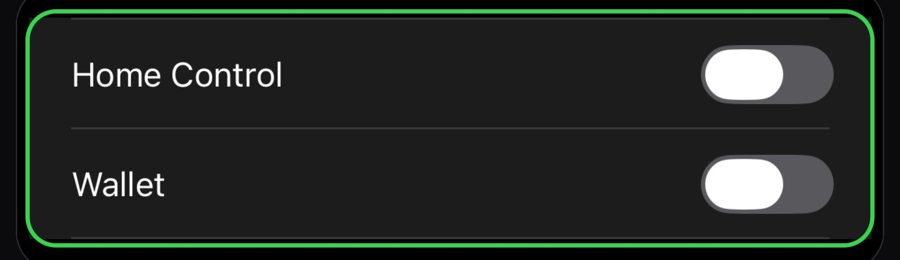
Turn off Home Control and Wallet too. Want a full lockdown? Turn off Siri, Reply with Message and Notification Center.
The Airplane Mode trap
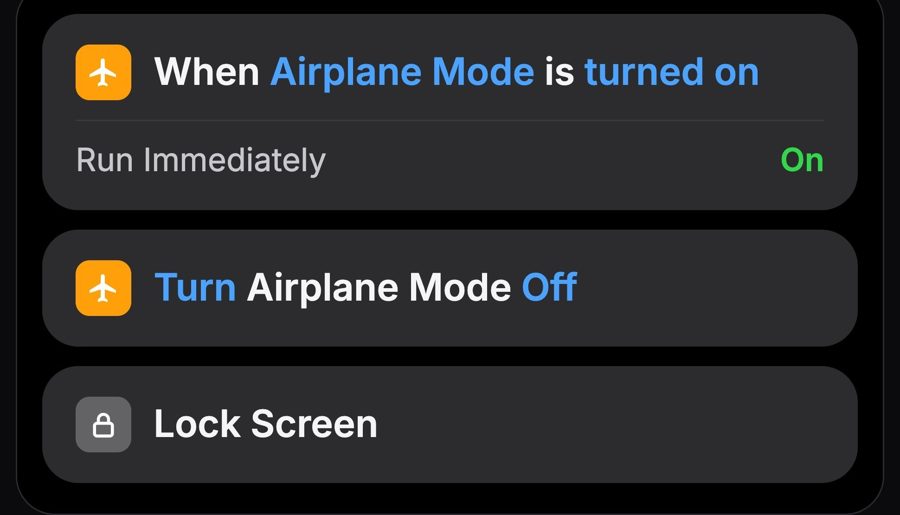
The last line of defense: if the thief turns on Airplane Mode somehow, the iPhone turns it straight off and locks the screen.
- Shortcuts › Automation › +.
- Choose Airplane Mode › Is Turned On › Run Immediately.
- Add Set Airplane Mode: Off, then Lock Screen.
✅ The final checklist (10 minutes)
- The tracking key is ready with a secret word.
- You tested it with the phone locked.
- Stolen Device Protection is on, set to Always.
- Require Passcode: Immediately.
- Control Center is blocked on the lock screen.
- Wallet and Home Control are blocked.
- The Airplane Mode trap is ready.
- Find My is on.
Follow @khanjicyber for more tips on protecting your phone. And send this page to the person who would lose the most if their phone went missing.
📚 We have more than 20 other free guides
More free guides? Tap here ↗Want to learn more?
In Nadr Community we teach Claude, content creation and ads step by step, across 5 tracks we keep improving (lessons are in Arabic):